
For some of our DIY projects it might appear that I tried to use every tool I owned. Remember appearances can be deceiving. If you're going to be handling all of your paper goods yourself, here are the tools I whole heartedly recommend.
Guillotine Paper Trimmer

(Source)
A guillotine paper trimmer is absolutely a life safer for quickly trimming stacks of papers down to size. You'll save a lot of time starting with this tool and then using the rotary paper trimmer for more precise cuts.
NOTE: No matter how inexpensive the Tonic brand Guillotine Paper Trimmer (pictured below) is DO NOT get it. This was one purchase where in hindsight I think not buying the cheapest one out there would have been smarter.

(Source)
The blade does not cut straight and dulls very quickly. The guard for holding paper in place is too close to the blade. The only "injury" I sustained when making the invitations and envelopes was from this tool.
Rotary Paper Trimmer

Fiskars 12" Rotary Paper Trimmer for Crafts
(Source)
Free - I've had it for years.
Typically $59.99, but with a 50% off coupon from Jo-Ann Fabrics $30.00
Typically $59.99, but with a 50% off coupon from Jo-Ann Fabrics $30.00
Pros: Can cut, deckle, score all with the same trimmer just by changing the blade
Cons: Depending on the weight of the paper can only cut three to five sheets at a time. If you don't apply even pressure as you pull towards yourself it sometimes don't cut all the way through the paper.
If money is no object (they retail for $175+), get a Dahle trimmer. If you have a friend with access to one, beg, borrow, or steal it! Luckily a friend had access to the 20 1/8" cut length Dahle trimmer (pictured below) and we were able to fold our sheets to quickly bring the pages down to manageable sizes for our other paper cutters/trimmers. (For cutting large sheets of handmade paper, I so would have loved the 37 1/2" cut length Dahle trimmer.) One thing that took a little getting used to was the automatic paper clamp. Once you master it (or just move it aside) you'll want to trim everything in sight. Trust me on this.

(Source)
Magnetic Cutting Board
If you're cutting at angles, a cutting board with a straightedge that doesn't move is a must. I primarily used the We R Memory Keepers Magnetic Cutting Set for trimming the envelope liners. It was nice to not have to worry about the paper or blade slipping.

We R Memory Keepers Magnetic Cutting Set
(Source)
$15.00 (used a 50% off coupon).
Typically $29.99, but be on the look out for 30% and 40% off Scrapbooking Tools Sales or use 40% or 50% off coupons
Corner Punches
Shaped or rounded corners make everything look more elegant. Be sure to get a punch where it's easy to line up the corner and make a consistent cut.
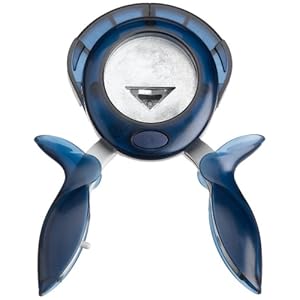
(Source)

Fiskars Corner Squeeze Punch:
Something Old, Something New
Something Old, Something New
(Source)
$4.80 (purchased during a 40% off Scrapbooking Tools Sale).
Typically $11.99, but be on the look out for 30% and 40% off Scrapbooking Tools Sales or use 40% or 50% off coupons
Pros: Can easily line up your punches
Cons: Can only punch 90-degree corners; can't punch thick paper; cut pieces end up all over your workspace
What tools did you find you couldn't live without? Did you go cheap to save money and wish you hadn't?
Great and useful article. Creating content regularly is very tough. Your points are motivated me to move on.
ReplyDeletelaminating pouches
guillotine paper trimmer
wire binding supplies