
When making these cards, I learned a couple of things about handmade, treeless papers. Some are pretty thin, which means adhesives can soak through.
Others are pretty porous and take a lot of glue before you can affix it to something else.
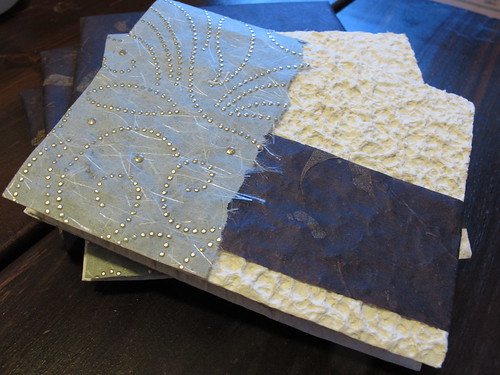
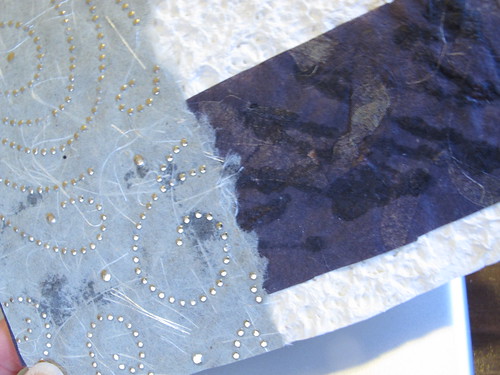
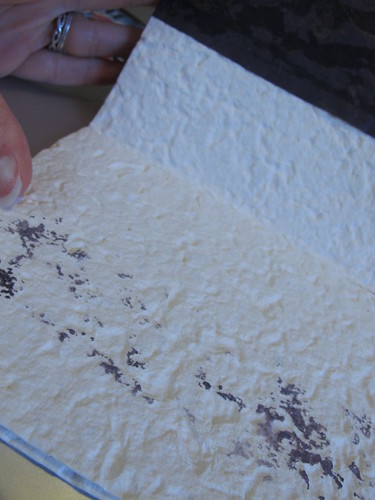
As you can see from the photo, the moonrock paper (off-white cardstock) has a lot of texture. This texture made affixing the other papers a little challenging as the paper wasn't always in contact with the glue.
One thing this experience taught me is I should have taken swatches and tried various adhesives rather than working on the final cards. Luckily I had extra materials and could redo the ones I ruined.
Making your own invitations? Try this to reduce your frustration:
- Purchase extra supplies to cover any mistakes.
- Purchase supplies for a mock up.
- Create swatches of your selected papers and try different adhesives. Note how quickly the glue dries, whether it causes ink to run, etc.
- Revise your design.
- Create your cards.
Did you make your own invitations? What did you learn along the way?
No comments:
Post a Comment